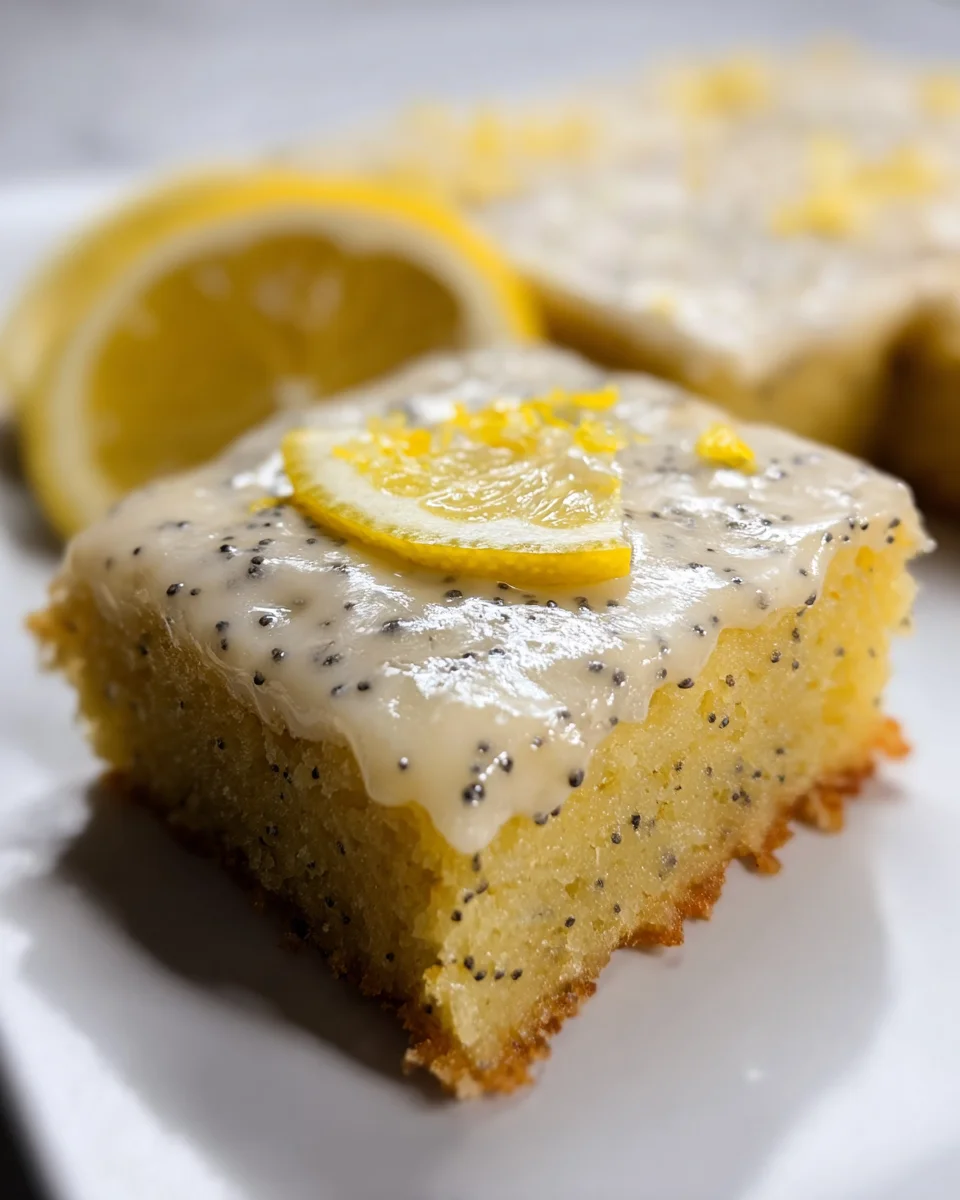
Mini Lemon Cheesecake Tarts
With a light and tangy lemon cheesecake filling, these adorable Mini Lemon Cheesecake Tarts are a perfect bite-sized treat for any spring or summer celebration. They come together quickly, with no baking necessary, and can be garnished with any fruit you like! Whether for a picnic, birthday party, or casual get-together, these tarts will surely impress your guests.
Why You’ll Love This Recipe
- Quick and Easy: These tarts require no baking and take just 20 minutes of prep time.
- Refreshing Flavor: The zesty lemon filling provides a delightful burst of freshness in every bite.
- Versatile Garnish Options: Top them with fresh fruit or preserves to customize each tart.
- Perfect Portion Size: Mini tarts make for ideal finger food at parties and gatherings.
- Crowd-Pleaser: Their creamy texture and vibrant flavor appeal to both kids and adults.
Tools and Preparation
Before diving into the recipe, gather your tools. Having everything ready makes the process smooth and enjoyable.
Essential Tools and Equipment
- Food processor
- Mixing bowls
- Electric mixer or whisk
- Muffin tin (for tart shells)
- Measuring cups and spoons
Importance of Each Tool
- Food processor: Perfect for crushing graham crackers quickly and evenly.
- Electric mixer: Ensures your cream cheese mixture is smooth and fluffy in no time.
Ingredients
For the Crust
- 1 cup graham cracker crumbs (5 ounces, or 10 crackers crushed)
- 2 tablespoons granulated sugar
- 6 tablespoons unsalted butter (melted)
For the Filling
- 1 8-oz package cream cheese (softened)
- 1/2 cup sugar
- 2 teaspoons lemon zest (divided)
- 2 tablespoons lemon juice (freshly squeezed)
- 1/3 cup heavy whipping cream
- 1/4 teaspoon vanilla extract
For Garnish
- Fresh fruit or fruit preserves
How to Make Mini Lemon Cheesecake Tarts
Step 1: Prepare the Crust
- In a food processor, combine the graham cracker crumbs, sugar, and melted butter.
- Pulse until the mixture resembles wet sand.
- Press this mixture evenly into the bottom of each muffin tin to form the crust.
Step 2: Make the Filling
- In a mixing bowl, beat together the softened cream cheese, sugar, and lemon zest.
- Add in the freshly squeezed lemon juice, then mix until fully combined.
- In a separate bowl, whip the heavy cream until soft peaks form.
- Gently fold the whipped cream into the cream cheese mixture until smooth.
Step 3: Assemble the Tarts
- Spoon the lemon cheesecake filling into each prepared crust.
- Smooth out the tops with a spatula for an even finish.
Step 4: Chill
- Cover the muffin tin with plastic wrap.
- Refrigerate for at least 2 hours or until set.
Step 5: Serve
- Carefully remove each tart from the muffin tin.
- Garnish with your choice of fresh fruit or preserves before serving.
Enjoy these delightful Mini Lemon Cheesecake Tarts, perfect for any occasion!
How to Serve Mini Lemon Cheesecake Tarts
Mini Lemon Cheesecake Tarts are delightful treats that can be enjoyed in various ways. Serving them with the right accompaniments can elevate their flavor and presentation for any occasion.
With Fresh Berries
- Strawberries: Slice fresh strawberries and place them on top for a sweet and tart contrast.
- Blueberries: Add whole blueberries for a burst of color and flavor that pairs perfectly with lemon.
Drizzled with Fruit Sauce
- Raspberry Sauce: A tangy raspberry sauce can enhance the lemon flavor and add a beautiful red hue.
- Mango Puree: This tropical fruit sauce brings sweetness and complements the tartness of the cheesecake.
Garnished with Whipped Cream
- Sweetened Whipped Cream: A dollop of lightly sweetened whipped cream adds creaminess and richness to the tarts.
- Flavored Whipped Cream: Consider using flavored whipped cream, like vanilla or citrus, for an added twist.
Served with Crushed Cookies
- Graham Cracker Crumbs: Sprinkle crushed graham crackers on top for a crunchy texture that mimics the crust.
- Chocolate Shavings: Add a touch of chocolate shavings for a decadent finish.

How to Perfect Mini Lemon Cheesecake Tarts
To achieve perfect Mini Lemon Cheesecake Tarts, follow these tips for a smooth filling and ideal texture.
- Use Softened Cream Cheese: Ensure your cream cheese is at room temperature before mixing to avoid lumps in your filling.
- Fresh Lemon Juice Only: Always use freshly squeezed lemon juice for the best flavor. Bottled juice may lack the vibrant taste you want.
- Chill Adequately: Allow the tarts to chill in the refrigerator for at least two hours to set properly before serving.
- Whip Cream Separately: For lighter filling, whip the heavy cream separately before folding it into the cheesecake mixture.
- Taste Test: Always taste your filling before pouring it into the crust to adjust sweetness or acidity as needed.
Best Side Dishes for Mini Lemon Cheesecake Tarts
Pairing side dishes with Mini Lemon Cheesecake Tarts can complement their flavors beautifully. Consider these options for your next gathering.
- Fruit Salad: A refreshing mix of seasonal fruits adds brightness and balances sweetness.
- Minted Yogurt: A cool yogurt sauce infused with mint enhances the tart’s flavors while providing a creamy element.
- Savory Cheese Board: Pairing tarts with cheeses like goat cheese or brie creates an interesting contrast between sweet and savory.
- Chocolate-Covered Pretzels: The salty crunch of pretzels dipped in chocolate provides a delightful texture alongside the creamy tarts.
- Lemonade: A glass of freshly made lemonade echoes the lemony goodness of the tarts, making it a perfect beverage pairing.
- Herbed Crostini: Lightly toasted bread topped with herbs offers a savory bite that contrasts nicely with dessert flavors.
Common Mistakes to Avoid
Making Mini Lemon Cheesecake Tarts can be easy, but there are some common mistakes to watch out for.
- Using cold cream cheese: Ensure the cream cheese is at room temperature for a smooth filling. Take it out of the fridge about 30 minutes before use.
- Not measuring ingredients accurately: Use a kitchen scale or measuring cups to ensure accuracy. This affects texture and taste.
- Skipping lemon zest: Lemon zest adds essential flavor. Don’t skip it; use fresh lemons and grate the zest finely.
- Filling tarts too early: Allow the crust to cool completely before adding the filling. This helps prevent a soggy crust.
- Overmixing the batter: Mix just until combined to avoid a dense texture. Overmixing introduces too much air into the filling.
Refrigerator Storage
- Store Mini Lemon Cheesecake Tarts in an airtight container.
- They will last for up to 5 days in the refrigerator.
- Keep them away from strong-smelling foods to avoid flavor transfer.
Freezing Mini Lemon Cheesecake Tarts
- These tarts can be frozen for up to 2 months.
- Place them in a freezer-safe container with parchment paper between layers.
- Thaw them in the refrigerator overnight before serving.
Reheating Mini Lemon Cheesecake Tarts
- Oven: Preheat the oven to 350°F (175°C). Place tarts on a baking sheet for about 10-15 minutes until slightly warm.
- Microwave: Heat each tart on medium power for 15-20 seconds. Be careful not to overheat, as this may change texture.
- Stovetop: Use a steaming basket over simmering water for about 5 minutes. This gently warms without drying them out.
Frequently Asked Questions
Can I make Mini Lemon Cheesecake Tarts ahead of time?
Yes, you can prepare these tarts a day in advance. Just store them covered in the fridge until serving.
What can I use instead of graham cracker crumbs?
You can substitute with crushed cookies like digestive biscuits or vanilla wafers for different flavors.
How do I know when the tarts are set?
The filling should be firm to the touch and not jiggle when you gently shake the tart.
Can I customize the toppings?
Absolutely! Fresh berries, fruit preserves, or whipped cream are fantastic options to enhance your Mini Lemon Cheesecake Tarts.
Final Thoughts
Mini Lemon Cheesecake Tarts are delightful and versatile treats perfect for any occasion. Their bright lemon flavor and creamy texture make them irresistible, while customization options allow you to get creative with toppings. Try this recipe today, and enjoy these fun, no-bake desserts!

Mini Lemon Cheesecake Tarts
- Total Time: 0 hours
- Yield: Approximately 12 mini tarts 1x
Description
Treat yourself to these delightful Mini Lemon Cheesecake Tarts, the perfect no-bake dessert for spring and summer celebrations. With a light and tangy lemon filling nestled in a buttery graham cracker crust, these bite-sized treats are not only quick to prepare but also versatile. You can easily customize each tart with your favorite fresh fruits or preserves. Ideal for picnics, birthday parties, or casual get-togethers, these tarts will impress your guests with their vibrant flavor and creamy texture. Enjoy a taste of sunshine in every bite!
Ingredients
- 1 cup graham cracker crumbs
- 6 tablespoons unsalted butter (melted)
- 1 package (8 oz) cream cheese (softened)
- 1/2 cup sugar
- 2 teaspoons lemon zest
- 2 tablespoons lemon juice (freshly squeezed)
- 1/3 cup heavy whipping cream
- Fresh fruit or fruit preserves for garnish
Instructions
- Prepare the crust by mixing graham cracker crumbs, sugar, and melted butter in a food processor until combined. Press the mixture into the bottom of a muffin tin.
- In a bowl, beat softened cream cheese, sugar, and lemon zest until smooth. Add lemon juice and mix well.
- In another bowl, whip the heavy cream until soft peaks form, then gently fold it into the cream cheese mixture.
- Spoon the filling into each crust and smooth out the tops.
- Cover and refrigerate for at least 2 hours to set before serving.
- Prep Time: 20 minutes
- Cook Time: None
- Category: Dessert
- Method: No-bake
- Cuisine: American
Nutrition
- Serving Size: 1 tart (45g)
- Calories: 170
- Sugar: 12g
- Sodium: 150mg
- Fat: 11g
- Saturated Fat: 7g
- Unsaturated Fat: 4g
- Trans Fat: 0g
- Carbohydrates: 15g
- Fiber: 0g
- Protein: 2g
- Cholesterol: 30mg

