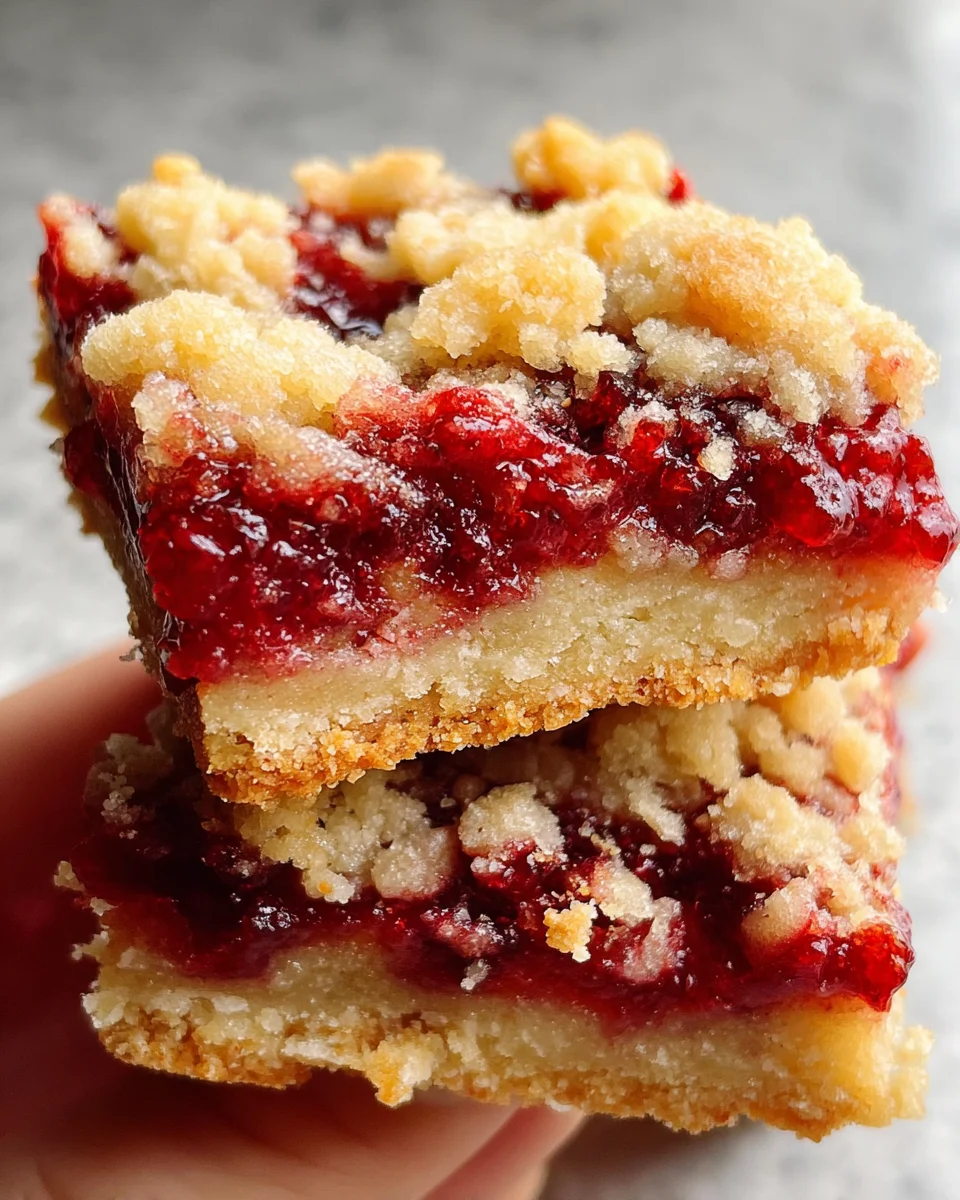
Sugar Cookie Icing That Hardens
Having a good Sugar Cookie Icing That Hardens is essential for decorating cookies, especially during festive seasons. This icing dries perfectly, making your sugar cookies not only look beautiful but also easy to handle and store. Whether it’s for Christmas, birthdays, or any special occasion, this icing will elevate your cookie game. Its versatility in color and texture makes it a favorite among bakers of all levels.
Why You’ll Love This Recipe
- Quick to Make: With just five minutes of prep time, you can whip up this icing in no time.
- Perfectly Hardens: Your decorated cookies will maintain their designs without smudging or losing shape.
- Customizable Colors: Use gel food coloring to create any hue you desire for your cookie decorating needs.
- Simple Ingredients: Made with basic pantry items, this recipe is accessible for everyone.
- Versatile Use: Ideal for various occasions—from holiday treats to birthday celebrations—this icing fits every theme.
Tools and Preparation
Before you start making your icing, gather the essential tools to streamline the process. Having the right equipment helps ensure that your icing turns out perfectly.
Essential Tools and Equipment
- Mixing bowl
- Sifter
- Whisk or spatula
- Measuring spoons
Importance of Each Tool
- Mixing bowl: A spacious bowl allows for easy stirring and mixing without spills.
- Sifter: Ensures that your powdered sugar is free of lumps, resulting in a smoother icing texture.
- Whisk or spatula: Essential for achieving a well-mixed consistency, helping incorporate all ingredients evenly.
Ingredients
Ingredients:
– 2 cup powdered sugar
– 1 & 1/2 tbsp corn syrup
– 1/2 tsp vanilla extract
– 1 & 1/2 tbsp milk or water (cold)
– gel food coloring
How to Make Sugar Cookie Icing That Hardens
Step 1: Prepare the Mixture
- Sift the powdered sugar into a medium/large bowl to remove any lumps.
- Add in the corn syrup, vanilla extract, and milk or water.
- Stir vigorously until the mixture is smooth and combined.
Step 2: Adjust Consistency
- If needed, add more milk gradually until you reach your desired consistency.
- The icing should slowly fall off the spoon while leaving a thick layer behind.
Step 3: Color Your Icing
- If you’re using multiple colors, divide the icing into several smaller bowls.
- Add gel food coloring to each bowl and mix until the color is uniform.
Step 4: Decorate Your Cookies
- Use the icing immediately to decorate your cookies as desired.
- Allow the icing to set at room temperature before storing the cookies in an airtight container.
With this simple recipe for Sugar Cookie Icing That Hardens, you’ll be ready to create stunningly decorated cookies that everyone will love!
How to Serve Sugar Cookie Icing That Hardens
Serving sugar cookies decorated with icing that hardens can elevate any occasion, especially during festive times. Here are some delightful serving suggestions to make your cookies stand out.
For Holiday Parties
- Festive Platter: Arrange beautifully decorated cookies on a colorful platter. Add some holiday-themed decorations for an appealing presentation.
- Gift Boxes: Package cookies in decorative boxes tied with ribbons. This makes for a thoughtful homemade gift.
At Family Gatherings
- Cookie Decorating Station: Set up a table where family members can decorate their own cookies. Provide various colors of icing and toppings for fun.
- Dessert Table Feature: Place your sugar cookie icing that hardens on the dessert table. It will draw attention and be a hit among guests.
As Party Favors
- Individual Bags: Place decorated cookies in cellophane bags for party favors. Tie them with a festive bow to add a special touch.
- Themed Cookies: Create cookies based on the event theme, using corresponding colors and shapes to enhance the occasion.

How to Perfect Sugar Cookie Icing That Hardens
Achieving the perfect sugar cookie icing that hardens is simple if you follow these tips.
- consistency: Aim for an icing consistency that flows slowly off a spoon but holds its shape. Adjust with milk as needed.
- use of gel food coloring: Use gel food coloring instead of liquid for vibrant colors without altering texture.
- storage methods: Store leftover icing in an airtight container to prevent it from drying out.
- setting time: Allow the iced cookies to set at room temperature for at least 1-2 hours before storing them.
Best Side Dishes for Sugar Cookie Icing That Hardens
While sugar cookie icing that hardens is a treat, pairing it with complementary side dishes can create a memorable experience. Here are some fantastic sides to consider.
- Fruit Salad: A refreshing mix of seasonal fruits balances the sweetness of the cookies perfectly.
- Cheese Platter: An assortment of cheeses provides a savory contrast to the sugary delights.
- Hot Chocolate Bar: Offer hot chocolate with various toppings alongside your cookies for a cozy dessert option.
- Mini Cupcakes: These bite-sized treats can be decorated similarly, creating a cohesive dessert theme.
- Nut Mixes: A variety of roasted nuts adds crunch and flavor, enhancing the overall dessert experience.
- Milk Shooters: Serve small glasses of milk to dip or wash down those decadent sugar cookies effortlessly.
Common Mistakes to Avoid
When making sugar cookie icing that hardens, it’s easy to encounter some pitfalls. Here are some common mistakes to watch out for:
-
Boldly skip the sifting: Not sifting powdered sugar can lead to lumps in your icing. Always sift it first for a smooth finish.
-
Boldly ignore consistency: Failing to adjust the icing’s consistency can ruin your designs. Aim for a thick layer that slowly falls off the spoon.
-
Boldly overlook food coloring: Adding too much gel food coloring at once can alter the icing’s texture. Always add it gradually until you reach your desired shade.
-
Boldly use the wrong container: Storing icing in a non-airtight container can cause it to dry out. Use an airtight container for best results.
-
Boldly forget about setting time: Not letting the icing set properly can result in smudged decorations. Allow it to dry completely before storing cookies.

Storage & Reheating Instructions
Refrigerator Storage
- Store leftover icing in an airtight container.
- It can last for up to one week in the refrigerator.
- Make sure to give it a good stir before using again.
Freezing Sugar Cookie Icing That Hardens
- You can freeze sugar cookie icing for up to three months.
- Use freezer-safe containers or bags, removing as much air as possible.
- Thaw overnight in the fridge before use.
Reheating Sugar Cookie Icing That Hardens
- Oven: Preheat on low and place the icing in a heatproof dish until warm.
- Microwave: Heat in short bursts (5–10 seconds), stirring between each burst until smooth.
- Stovetop: Place over low heat, stirring constantly until warmed through.
Frequently Asked Questions
Here are some frequently asked questions about sugar cookie icing that hardens:
How do I make my sugar cookie icing that hardens shiny?
To achieve a shiny finish, ensure your ingredients are mixed well and avoid adding too much liquid.
Can I use this recipe for other cookies?
Absolutely! This icing works well on various cookies, not just sugar cookies.
How long does it take for sugar cookie icing that hardens to set?
Typically, it takes about 4–6 hours at room temperature for the icing to completely set.
What if my sugar cookie icing is too runny?
If it’s too runny, simply add more powdered sugar until you reach your desired thickness.
Final Thoughts
This sugar cookie icing that hardens is not only easy to make but also incredibly versatile. You can customize colors and designs, making it perfect for any occasion. Whether you’re decorating holiday cookies or just having fun with your family, this recipe will bring joy and satisfaction with every bite. Give it a try and let your creativity shine!

Sugar Cookie Icing That Hardens
- Total Time: 0 hours
- Yield: Approximately 12 servings (1 tablespoon each) 1x
Description
Elevate your cookie decorating game with this easy recipe for Sugar Cookie Icing That Hardens. Perfect for any occasion, from festive holidays to birthday celebrations, this icing dries beautifully to create stunning designs that are easy to handle and store. With just a few simple ingredients, you can customize colors and textures to suit your theme, making it a favorite among bakers of all skill levels. Whether you’re whipping up a batch of cookies for a special event or just indulging in some creative baking at home, this icing will make your treats shine.
Ingredients
- 2 cups powdered sugar
- 1 ½ tbsp corn syrup
- ½ tsp vanilla extract
- 1 ½ tbsp cold milk or water
- Gel food coloring (optional)
Instructions
- Sift powdered sugar into a mixing bowl to eliminate lumps.
- Add corn syrup, vanilla extract, and cold milk (or water) into the bowl.
- Mix vigorously until smooth. Adjust consistency with more milk as needed until thick yet pourable.
- Divide into smaller bowls if using different colors and add gel food coloring.
- Decorate your cookies immediately and let them set at room temperature before storing.
- Prep Time: 5 minutes
- Cook Time: None
- Category: Dessert
- Method: N/A
- Cuisine: N/A
Nutrition
- Serving Size: 1 tablespoon (15g)
- Calories: 60
- Sugar: 14g
- Sodium: 0mg
- Fat: 0g
- Saturated Fat: 0g
- Unsaturated Fat: 0g
- Trans Fat: 0g
- Carbohydrates: 16g
- Fiber: 0g
- Protein: 0g
- Cholesterol: 0mg

